#### 1. Pre – Preparativos de instalación
– **Ensamble los conductores**: Coloque un cabezal de chorro en la parte inferior y conecte una junta giratoria en la parte superior..
– **Ponga en marcha la bomba de lodo**: Prepárate alto – fluido de perforación de viscosidad.
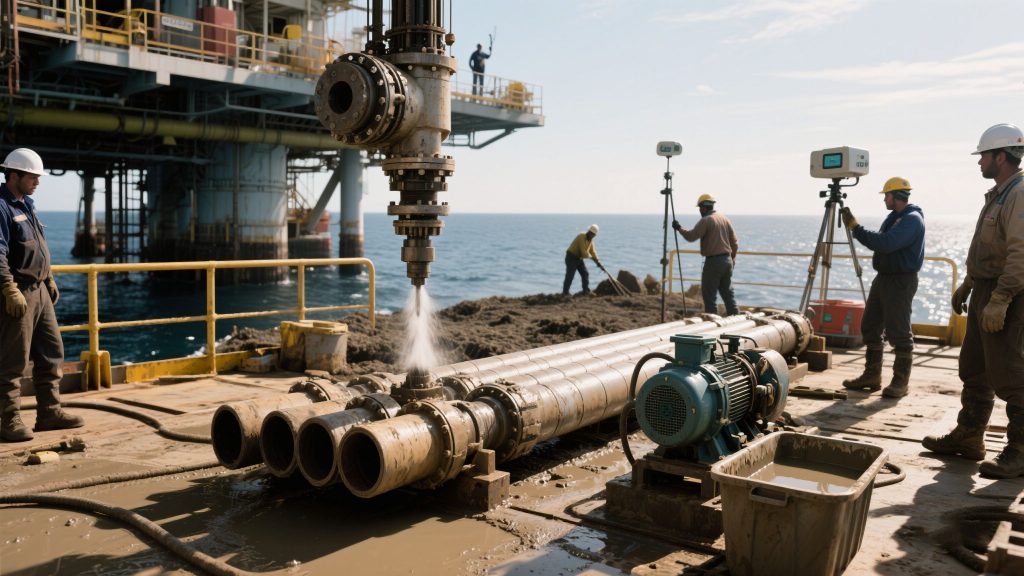
– **Colocar la plataforma**: Utilice el sistema de posicionamiento global diferencial (DGPS) para posicionamiento de plataformas y estudio del suelo del fondo marino (which should be soft sandy soil).
#### 2. Lowering and Jetting to Penetrate the Seabed
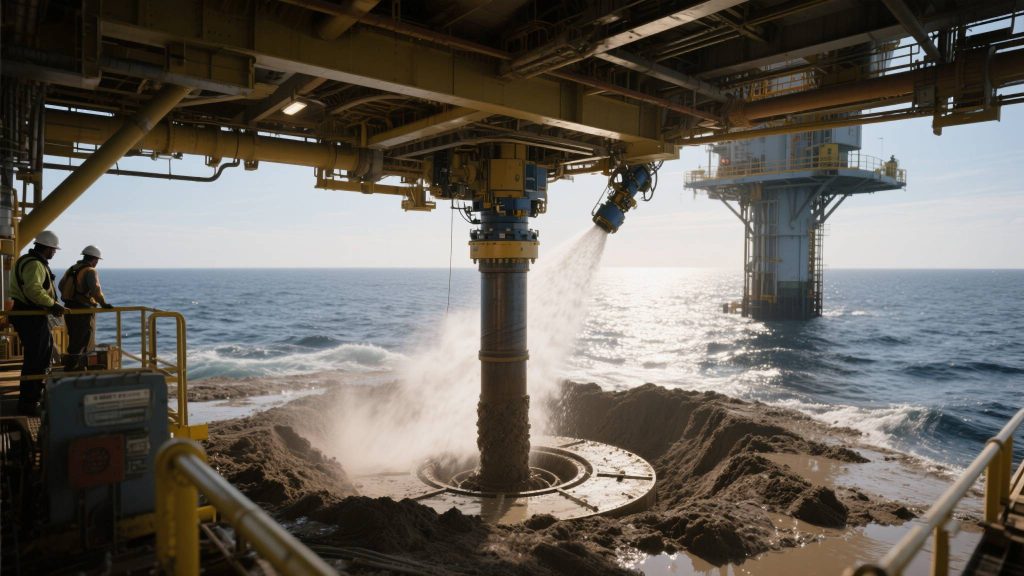
– **Lower the conductor**: Lower the conductor above the mud surface and align it with a laser (allowable deviation ≤ 5cm).
– **Initiate the operation**: Start the mud pump (alto – velocity jet flow) and the rotary table (low – speed rotation) to erode the soil. The conductor sinks under its own weight at a speed of 0.5 – 1m/min.
– **Survey the inclination**: Measure the inclination every 5 – 10m of lowering (verticality ≤ 1°/30m). If the limit is exceeded, adjust the direction slightly.
#### 3. Fixing and Follow – up
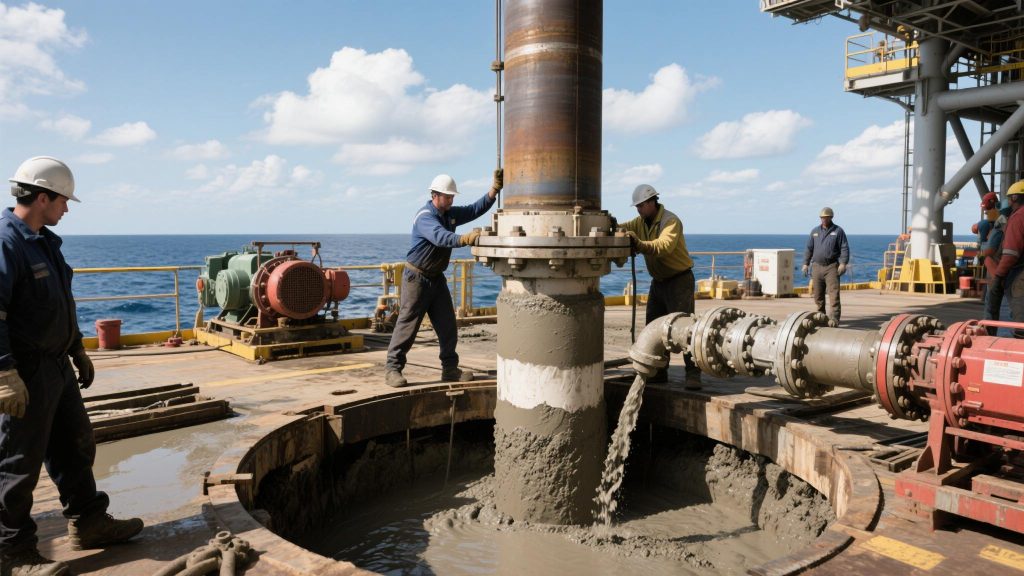
– **Stop the pump**: Once the designed depth is reached, stop the mud pump and let it stand for 2 – 4 hours to allow the soil to settle.
– **Fix and seal**: Fix the platform with a conductor head at the top and inject low – strength cement slurry into the annulus for sealing.
– **Connect and test**: Connect the blowout preventer. After a pressure test, proceed to the drilling operation.
### Core Advantages
This method features low cost and high speed, and is suitable for soft formations in shallow waters (water depth < 100m).